

6 April 2014
My husband came home from work one day and asked if I wanted to go to a charity ball that the social club at work was holding. The theme was the 1920’s and dressing up in costume was encouraged. I was totally excited as I’ve always loved the 1920’s style of clothing and I’d been dying to make myself a 1920’s dress forever but never got around to it, and had nowhere to wear it even if I did make one!
So I immediately started trawling the web for 1920’s dress patterns. I didn’t find many patterns, in fact I don’t think I found any patterns, well at least none I could buy! I collected a few pictures on a Pinterest board and started mulling it all around in my head.

I rather liked this pattern but couldn’t get my hands on a copy. Also I’m sure it wouldn’t look that good on me since I’m not the same shapeas the 3 ladies in the drawing!
I kept searching and then found this fabulous dress made by Eld-nora:

Red flapper dress which I used as inspiration for my own dress
Here you can see Eld-nora’s webpage
I knew I could make that, but I’m not very confident unless I have a pattern to follow or adapt. (I have a friend who is doing a Costume Design degree and we have such different approaches to sewing. Patterns scare her silly and she does pretty much everything by draping. I wouldn’t have the first clue on how to drape, but give me a pattern and I’m happy.)
Another search online (what on earth did we do before the internet?) and I found Kwik Sew pattern 3855

Kwik Sew pattern 3855 which I altered to make my 1920’s dress
I figured I could just make View B and change the bottom frill/ruffle thing to a handkerchief/multi-pointed frill/ruffle thing. Luckily I knew just how to create the multi-pointed ruffle!
You see in my spare time I bellydance, and I make some simple bellydance clothing – so I’m always looking at how things are made. I have in my collection of class wear items a little skirt made just like this and I’d already figured out how it was constructed as I was going to make one for myself, but hadn’t got around to it yet.
Here’s the basic idea:
Cut out 2 squares of fabric. Cut a circle in the centre of each square. Now cut from the circle to the middle of one of the sides. Do this on both squares. You should end up with something that looks like this:

Two squares of fabric with a hole in the middle and a cut from the centre to the outside
Now you flip one square on top of the other one, right sides together, so the cuts match up. Then sew two seams, one along each edge of the cut, like this:

Diagram showing stitching lines on wrong side of fabric
When you open out your “ruffle” it should look like a multi-pointed, 1920’s style dress ruffle! Sew it to the bottom of your dress and hey presto!
So now you know how to do it, you need to work out the measurements. Measure the bottom of the dress where the ruffle is going to be attached. Divide this figure by 2. This new figure is the circumference of the circular hole you want to cut in the middle of each square. As for the size of the squares, I worked out how long I wanted the longest point to be and that would be the measurement from the corner of the square to the edge of the centre circle. I then worked out how big that square would be and worked out how long the shortest part of the skirt would be by measuring from the middle of one side to the edge of the centre circle. Would that be long enough? I decided yes, so that’s the size square I cut. However, I ended up with squares which were too big and had to cut them down in size. But that’s far easier than trying to make them bigger! Sorry I can’t be of any more help regarding working out the sizes, I’m afraid I sort of bumbled along working it out as I went!
So, I knew what I was going to make, and how. All I needed to work out now was What Colour??? My favourite colour is orange but I didn’t think that was a very appropriate colour for a 1920’s dress. So I settled on red and black, like in the picture further above. Then a friend of mine asked me what colour I was going to make it in and she was shocked I wasn’t going to use orange fabric. Hmmm. I slept on it. I woke up and thought she maybe was right, so I took her along to the fabric shop with me and there was this amazingly vibrant orange satin – it was perfect! Orange it is then :-D
So now I had everything I needed to begin; idea of what I wanted the finished dress to look like, pattern, fabric, feathers, fabric flower.
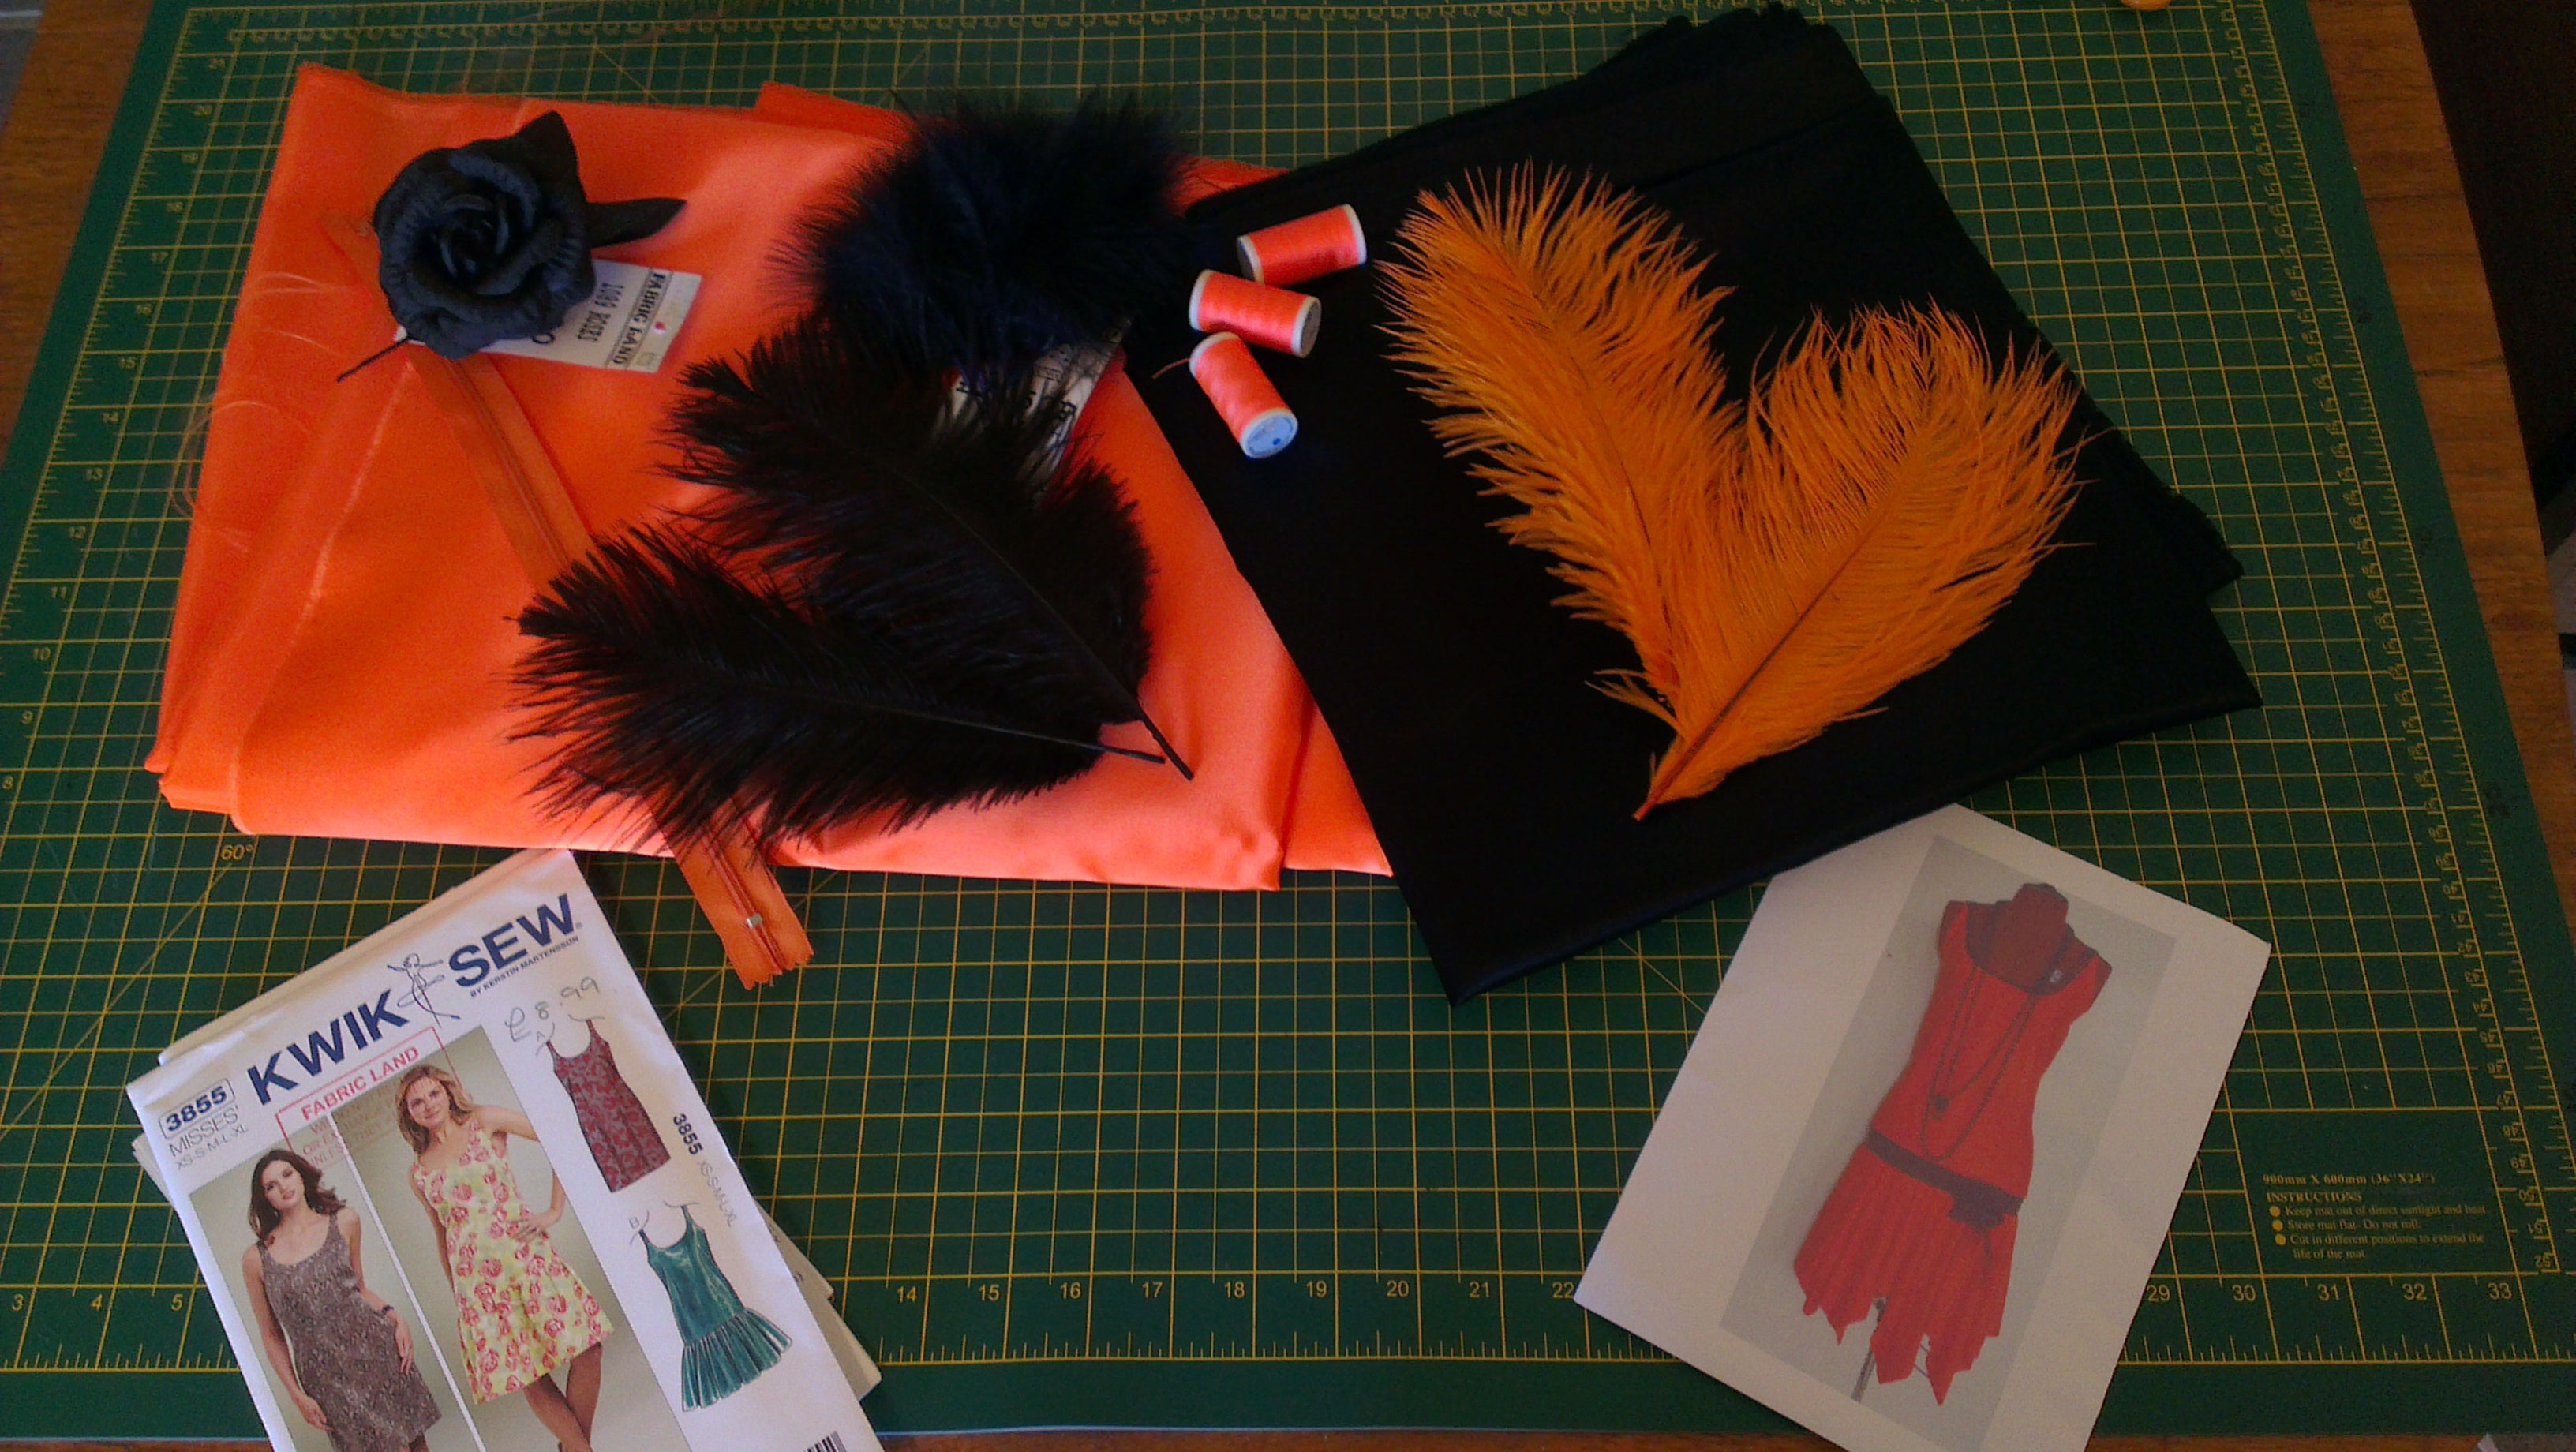
Ready to begin: picture, pattern, fabric, feathers, fabric flower
So I got started and did my usual trick of measuring the pattern pieces around the bust, waist and hips and comparing the measurements to myself. As a result of my measurings, I decided I needed to make it in the size larger than I originally thought I should, and of course, after I’d sewn it up it was too big! So then I had to take it in at the sides but it was still too big around the neckline. I will hardly ever undo something I’ve spent time and effort on. So the neckline stayed the way it was but I did take in the side seams a little as that’s easy and doesn’t involve the quick-unpick!
As a result, I’ve decided that I really do need to learn some pattern fitting skills. I’ve signed up for a Craftsy course and the part I’ve watched so far looks good, but a lot of work. I think I could do it, but will I ever find the time to do it? I have so many things I want to make all at once, will I be able to put them on hold to fit a pattern to myself? I guess I’ll find out soon! Here’s the link to the Craftsy class I’ve signed up for, just in case you want to check it out.
Well anyway, I finished the dress (well almost, I couldn’t be bothered to sew the neckline facing to the side seam allowances and consequently spent the whole evening battling with my front facing which kept popping out while I was dancing!) And I was very proud to win the women’s section of the fancy dress competition! There were some gorgeous dresses there, some with loads of beading on them, but I think my choice of colour meant that my dress attracted a lot more attention than the black beaded numbers ;-)
I also made a headpiece to go with my outfit, I think I put too many feathers on it but after watching The Great Gatsby the other day, my feathers were quite tame in comparison! I bought a sparkly brooch from a charity shop which looked vintage but was not and that went on the headpiece too. T-bar shoes, knitted textured tights, sequinned cigarette holder, a couple of strands of long beads, long black velvet gloves, a couple of diamante bellydance bracelets and a black sequinned bag from a charity shop completed the ensemble! And here it is!

The finished dress complete with accessories & husband!